
Make Your Very Own Pattern
Patterns are everywhere! They're in your wallpaper, your cereal, your shirt, and more! They even help kids learn. While I may not be talking about that kind of pattern, there is no denying that patterns are amazing and you want to make your own, no questions asked. So here we go, making your own pattern!
First, make a new image. Your pattern will most likely be small so set your image to something small like mine is at(15x15 pixels):

Now you're going to create whatever you want your pattern to be. When drawing with such a small image, you'll want to use the pencil tool. It looks like this:

Now, when you make a pattern I think it's best to leave lots of blank area. When you use a pattern tool it fills a whole entire image/selection with that area. If you don't leave much blank area, it'll look like one big mixed together blob.
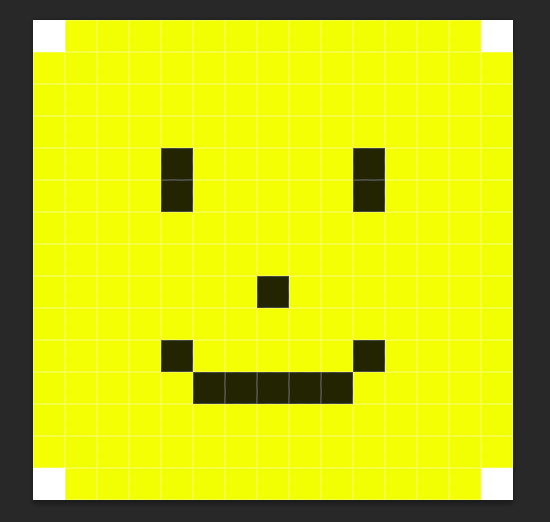
Here is an example of a picture I WOULDN'T use as a pattern template:
Here's an example of a picture I WOULD use as a pattern template:
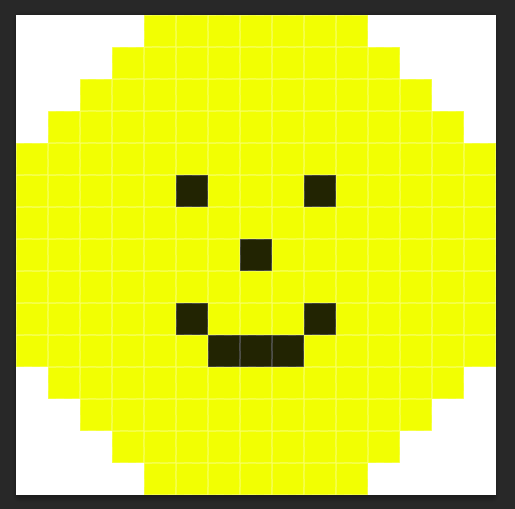
Notice how much extra blank there is? This will allow for more of the background of the patterned on item to be visible.
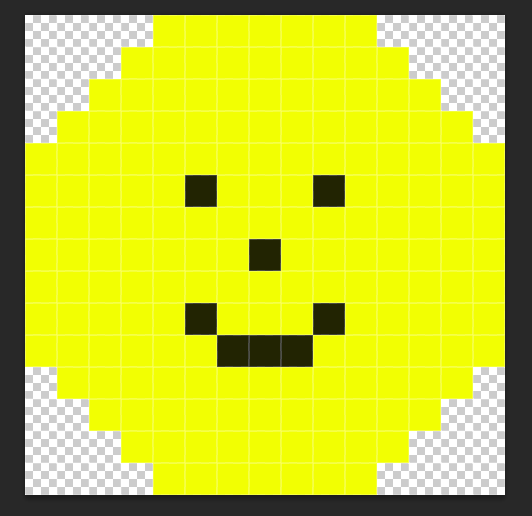
Next, use the magic wand tool to select the white areas and delete them. If you can't delete them look at your layers and make sure there isn't a lock on your layer. If there is, click it to remove it. You should have this:
If deleting some of the white area fades the color of your pattern template, recolor it.
Next, select the whole image by pushing Ctrl + A. Then, push image, create pattern, and name it whatever you want. The box should look like this:

Now open up whatever you want to put your pattern on. I will be using a blank canvas just for example purposes.
Go to the bucket tool that looks just like this bucket:

Go to this box:

and set it to pattern. Now, select the pattern you just made so it shows it in this box:

Finally, with your bucket tool selected, click on your image wherever you want! Here is my final result:

And there you go! You can start patternizing any image you want!
If I missed something or you want to check out a step more in-depth, you can check this tutorial also!
Like always, comment with any questions or anything at all really. Thanks!
If I missed something or you want to check out a step more in-depth, you can check this tutorial also!
Like always, comment with any questions or anything at all really. Thanks!
wow, this function is so useful. I know nothing about PS, but I always like to learn. This blog help me a lot.
ReplyDeleteThanks Arthur! I hope it helps!
Delete